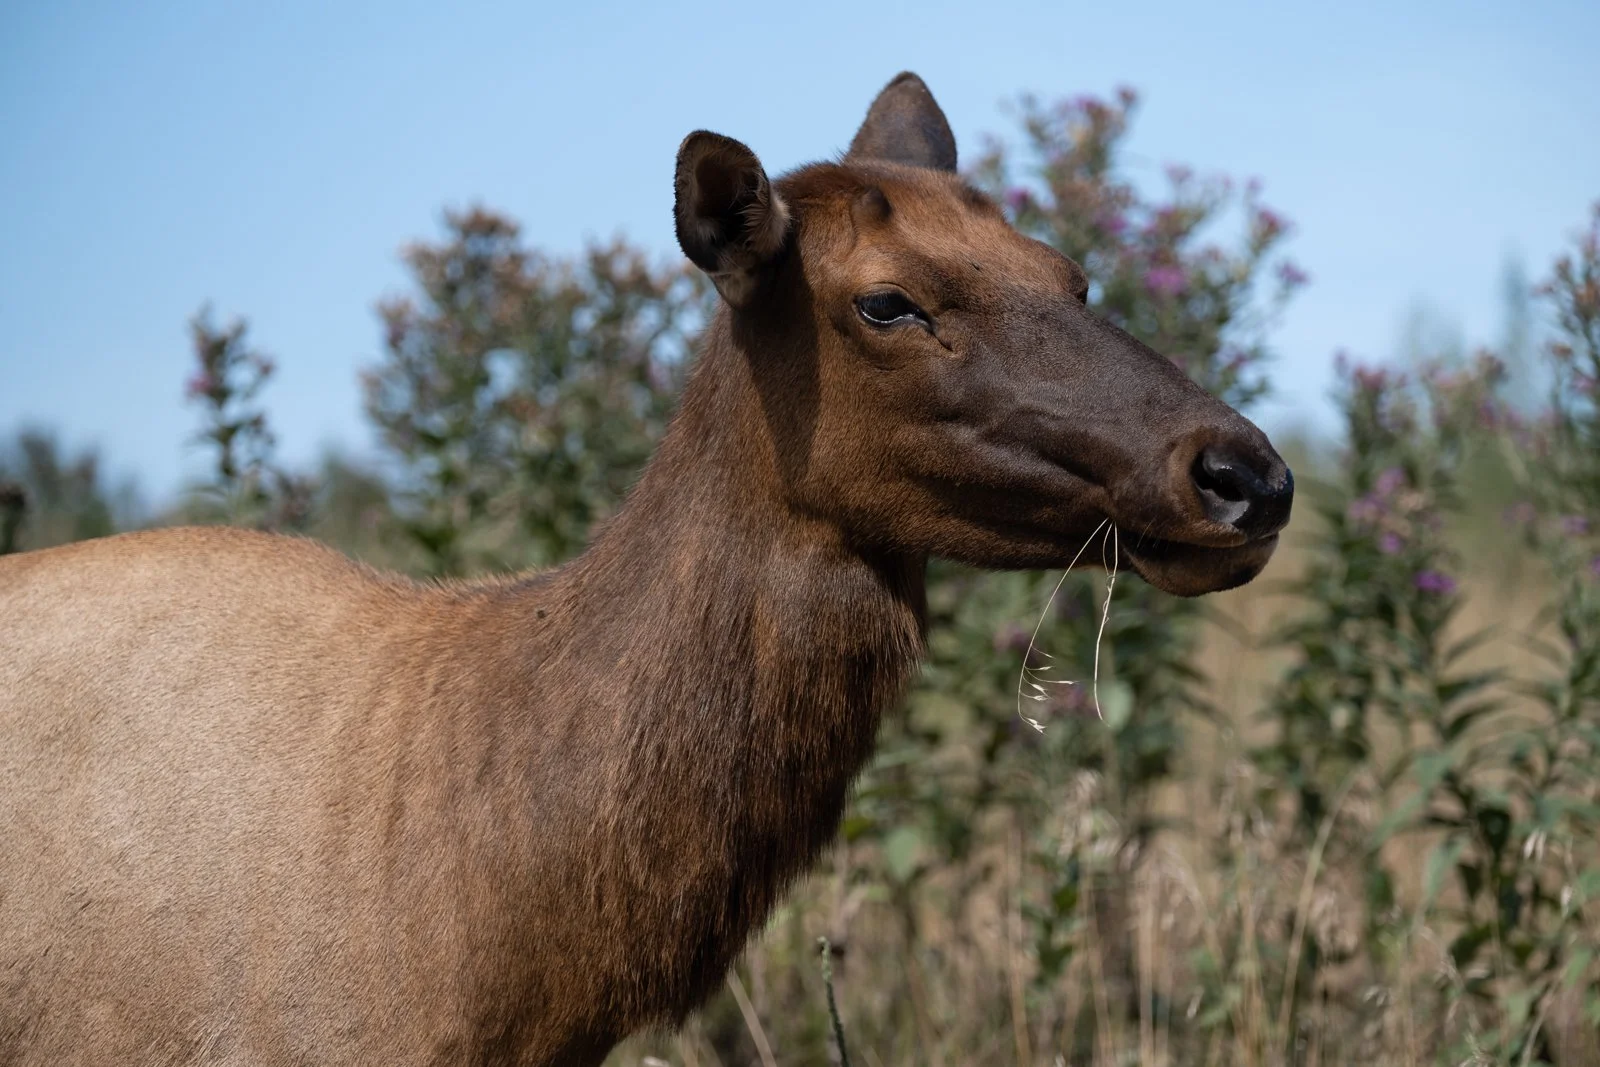
Editing a Photo of an Elk
For this blog post, I thought I’d keep it simple (since I missed a few weeks again) and edit a photo of an elk cow.
Scroll to the bottom to see the video
Last summer, I made a trip to one of my favorite places to spend an afternoon, the Wildlife Safari Park near Ashland, NE. I try to swing by a couple of times a year when I’m bored.
It can be challenging to get good photos from the car because the angles from the road to where the animals like to hang out don’t always provide good eye-level opportunities.
Wildlife Safari Park
Fortunately for me, the elk were cooperating on my last visit and I got a few good shots of this cow.
This edit is pretty dirty in terms of technique. It took about 15 minutes in real-time. Once I started recording, I slipped back into using some really old techniques simply because I knew them well and didn’t want to screw up too much on the recording.
A lot of what I’m doing isn’t very efficient. For instance, I have to make a copy so I can destructively edit it in Photoshop rather than doing many of the same things non-destructively in Lightroom. It’s also not very efficient hard drive space. That Photoshop file that I created ended up being 826 MB with all of those layers.
I used this same technique for all of these photos.
It’s inefficient but tried and true.
There are 3 reasons I chose to edit this photo. I try to keep these in mind whenever shooting.
The animal, especially its eye, is sharp and in focus
I’m at eye level with the animal
The background is clean and distant from the animal
Raw, unedited photo of the elk
Edited photo of the elk
Leave me a comment if you have any questions and I’ll do my best to answer them.
Here’s what you’ll see in the time-lapse below:
General edits in Lightroom: cropping, fixing color, noise reduction, removing flies
Selective edits in Photoshop: brightening eye, darkening sky, vibrance
Applying the secret sauce Orton Blur in Photoshop
Back in Lightroom: tweaking the sky and adding a touch of vignetting


