Let’s talk editing
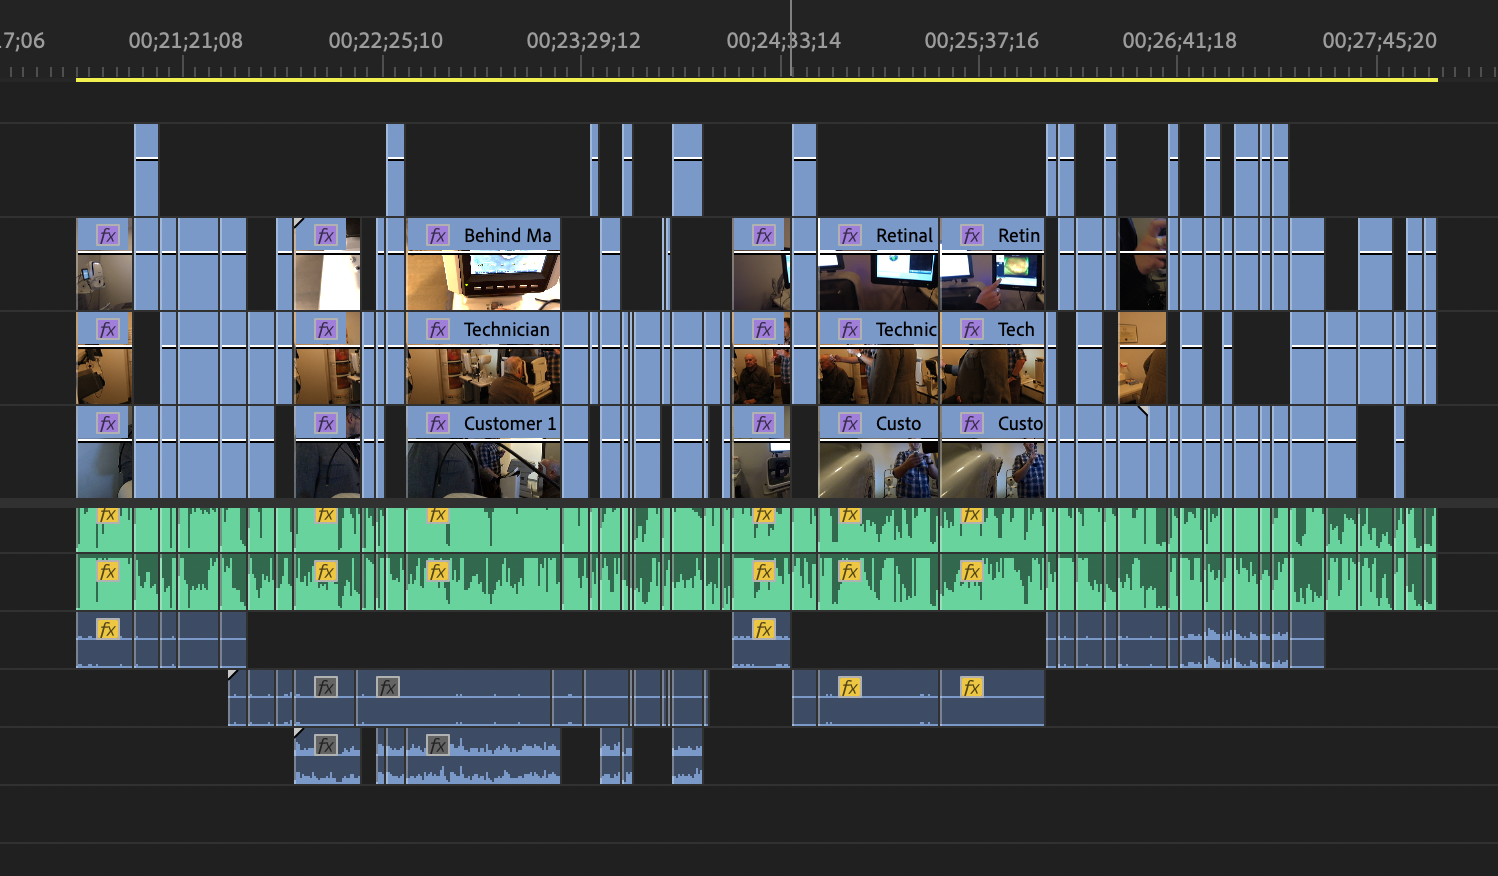
As I said in my last post, I mentioned I was editing a pilot for a new series. That’s been pretty much my whole week aside from my actual job.
For this first episode, I ended up using 4 cameras and 3 body mics. Technically I used a 5th camera, my GoPro Max, but that was just as a backup if the other cameras failed to see something since it can shoot in 360 degrees at once. It’s kind of a pain to edit, so I don’t want to use its footage if I don’t have to.
This turned out to be the largest shoot I’ve ever done when you look at the raw file sizes.
Turns out that running relatively high quality cameras for 5-6 hours really adds up. Who’d have thunk?
Because I’m in a hurry with this edit, I tried to help myself out by converting the files to a mezzanine codec.
All the video files from the shoot
What’s A Mezzanine Codec?
First, let’s define the word Codec. A codec is a portmanteau for the words enCOde and DECode. It’s basically a way to save video and audio to a file and then read that information back out to display it on your screen. There are lots of codecs. Some of the most popular are h.264, HEVC (h.265), and the venerable MPEG-2 from the DVD era.
Multiple Video Files to process at the same time
Different codecs are designed for different purposes. Some are designed to capture a lot of information from the camera. Some are designed to stream really well over the internet. Some are designed to be as small as possible. Some are designed for multiple goals. The ones designed to save space, such as h.264 and h.265 require a lot of processing power to play them because of they are compressed to save space. Most devices today, like your phone or tv streaming stick, have a special chip built specifically to play these files smoothly. However, when you start editing with these codecs, the editing software can’t always use those dedicated chips because it has to calculate the changes you make to the video file while playing it back.
For instance, let’s say I have an h.264 file, which is recorded by many devices such as GoPros, phones, and even DSLR cameras. I want to adjust the colors on the video. In order to do that, my editing software has to use the CPU (and sometimes the GPU) to play the file and overlay the color change on each frame. The dedicated h.264 circuit can’t help because it doesn’t know how to add color to what it is playing. It only knows how to encode or decode it for playing or saving. The result of having to use the CPU to decode the file for playback means it might not playback and full speed. Playback could stutter, and it takes longer to scrub (fast forward or rewind) all of which wastes time.
The problem is exacerbated if you stack videos and overlay them because now the CPU has to process 2 or more files.
Mezzanine to the Rescue!
A Mezzanine codec is an intermediary video file type that is optimized for playback and quality at the expense of file size. If you want good timeline performance in your video editing software, or you plan to pass your footage between multiple software, such as editing, color grading, adding visual effects, etc., you can convert your footage to a mezzanine codec to make that process easier. Some popular mezzanine codecs are Apple ProRes and Avid DNxHD/R. Since I knew I wanted fast timeline performance while editing, I converted all of my video files into ProRes. I spent a few nights (while I was sleeping) letting the computer convert the h.264 and h.265 files into ProRes to save a lot of time while editing.
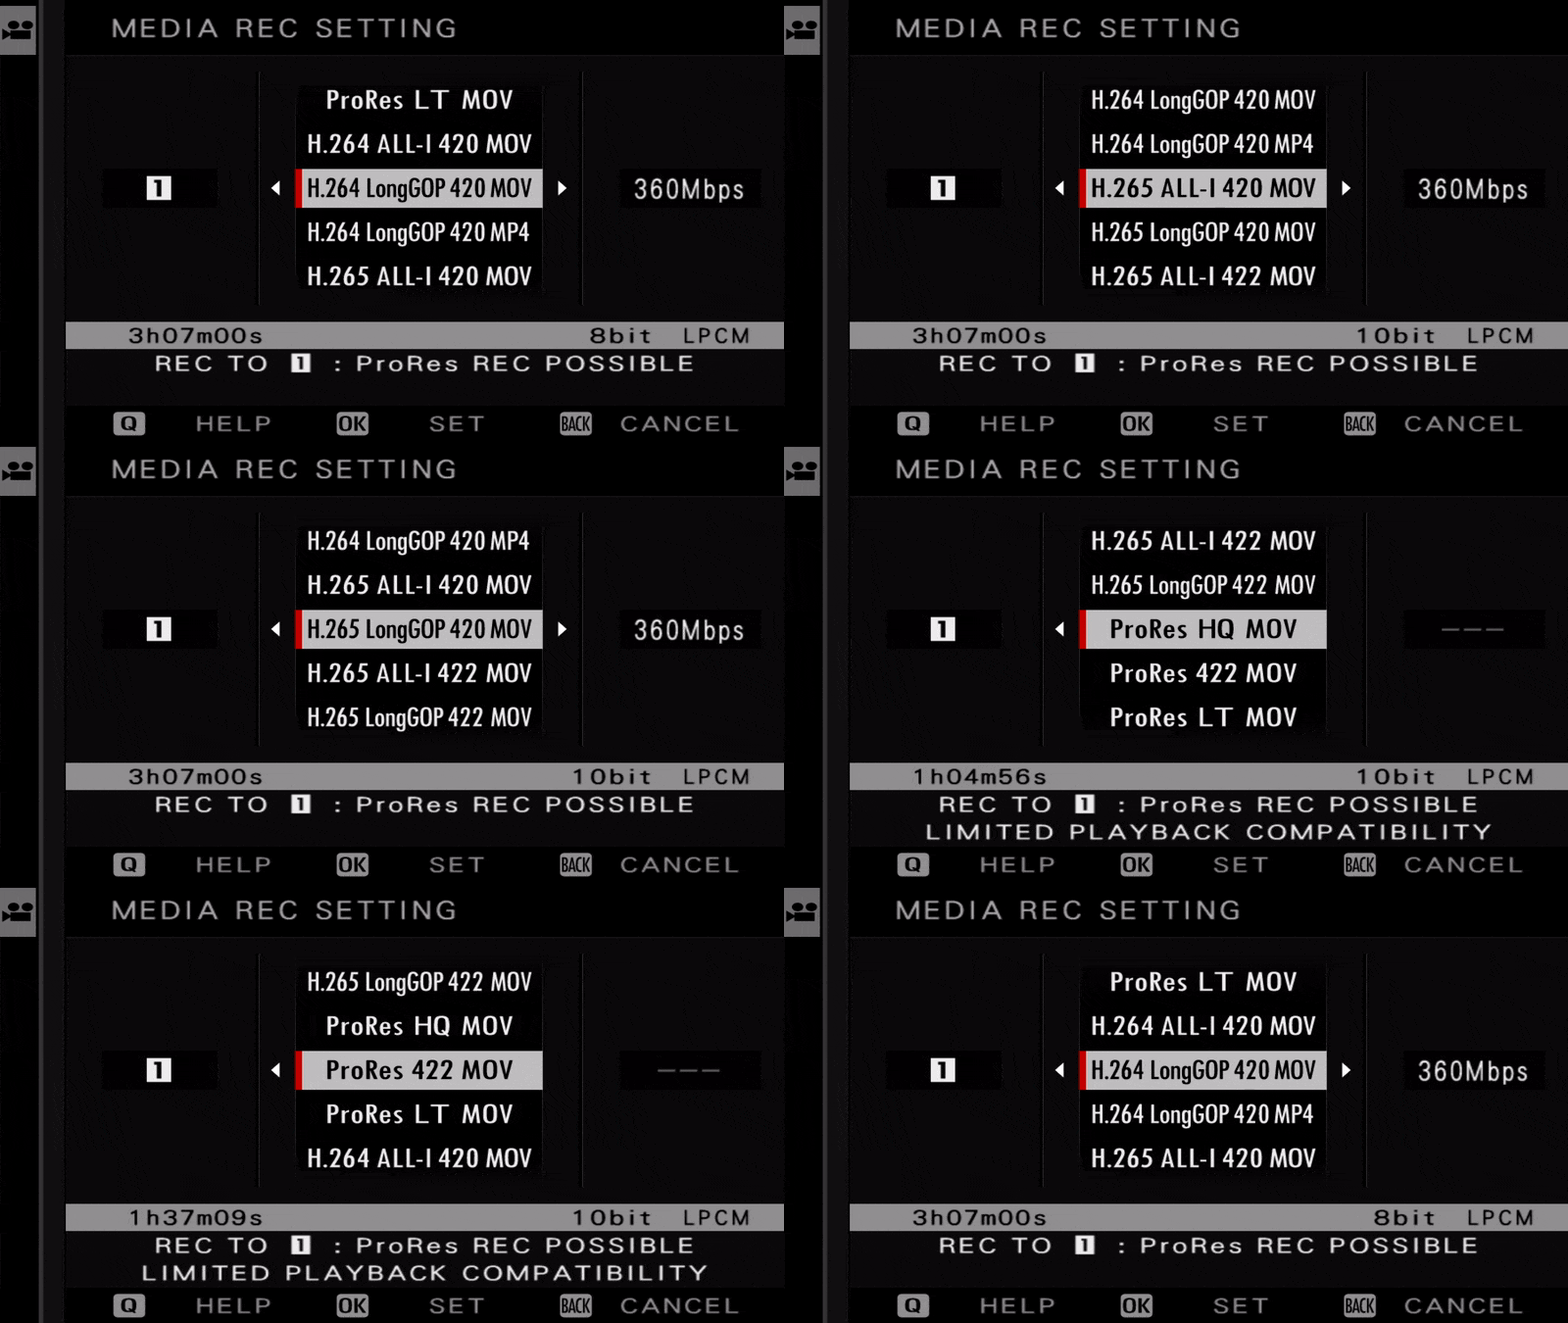
Most higher-end cameras let you record straight to a Mezzanine Codec. (As demonstrated on a Fuji camera below) This has the benefits of saving time by not requiring you to convert your recorded footage before editing and saving a higher-quality recording. You’d better have a lot of high-capacity memory cards on hand, though because they fill up quickly.
Recording Codec Options in a Fuji Camera
The only drawback is that my file sizes ballooned beyond the capacity of my largest SSD. A file that was 7 Gigabytes as an h.265 video was now 17 gigabytes. So, to fit all the files onto my 2 Terabyte SSD I had to leave some of the largest, longest videos in their h.265 codec because the ProRes version was over 500 gigabytes for a single video!
After converting, that folder full of my original video files went from 565 gigabytes to 1.88 terabytes. It’s a bit rediculous when you think about it and it really puts into perspective these movie studios that have thousands of hours of footage stored in these mezzanine codecs. But I can report that the performance is very good and it was totally worth the upfront investment converting them from one codec to another.
The same video in 2 different Codecs. H.265 on the left. ProRes on the right
But now I’m thinking ahead to what I’ll do if I have an even longer shoot in the future. I’m limited to external SSDs because I have a Mac and we all know, Macs don’t have replaceable Hard drives. 😞 . I now understand why so many fancier YouTubers I watch talk about having a dedicated RAID of networked SSDs to edit from since a single external SSD isn’t big enough yet.
The Finish
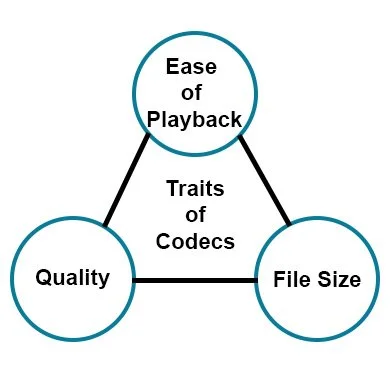
When you’re done with all of your edits, you have to process all of your changes into a new final video. For this, a finishing codec is used. Most of the time, for us normal people, we’re going to pick h.264 or h.265 again since we deliver our videos via the internet on sites like YouTube. (Though YouTube converts it again to a different codec, but it prefers you upload in h.264 to start with) This returns the video file to a smaller size that is easy to play at the cost of some quality. That’s the thing; it’s always a trade-off with codecs. You can only pick 2 of the 3 traits: Ease of Playback, File Size, or Quality.
I made sure to save the original files from my camera because I like to store all of my footage in case I need it again and I’d rather store the 500 gigs of data than the 1880 gigs of mezzanine files.
Next week I’ll let you know how the final video turned out!


